

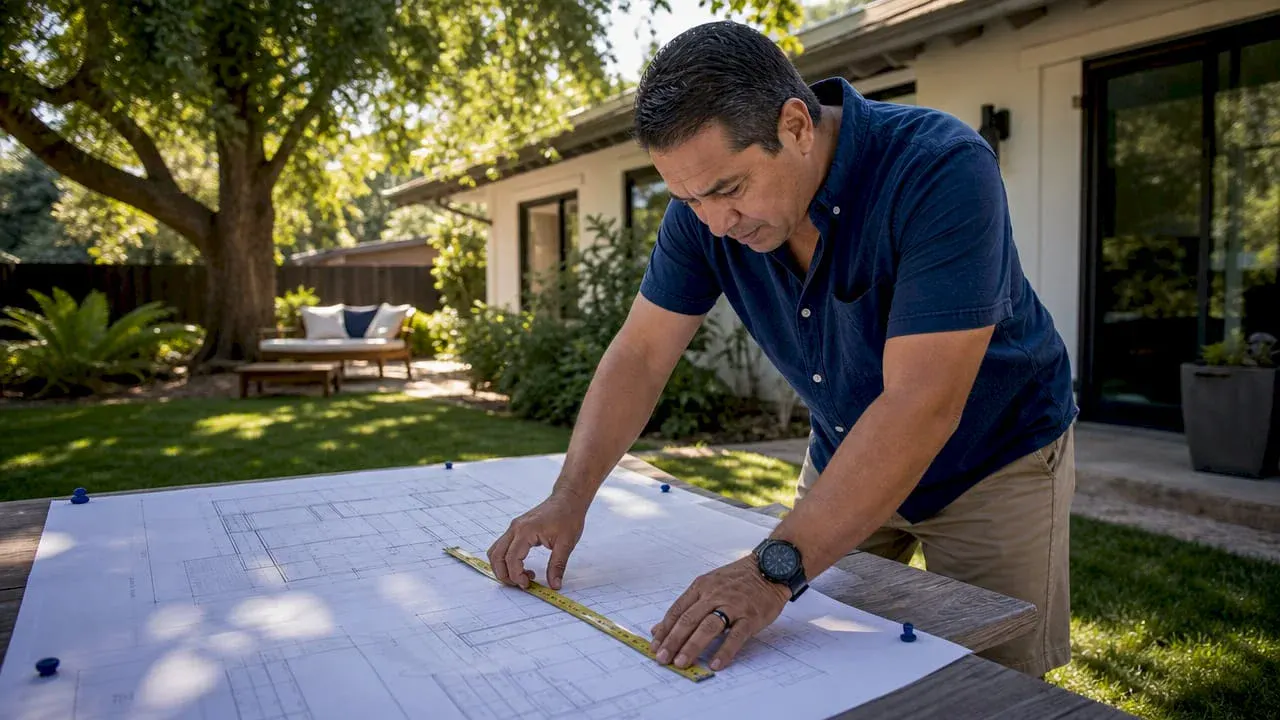
The backyard ADU design process is a structured sequence of steps that aligns zoning rules, site conditions, unit type selection, and detailed design to produce a legal, livable accessory dwelling unit. An accessory dwelling unit (ADU) is a self-contained residential unit built on the same lot as a primary home. California homeowners build them as backyard cottages, garage conversions, attached additions, or junior ADUs carved from existing interior space. A thoughtful process prevents costly redesigns, speeds permit approval, and maximizes what the finished unit adds to your property’s value.
What does the backyard ADU design process involve?
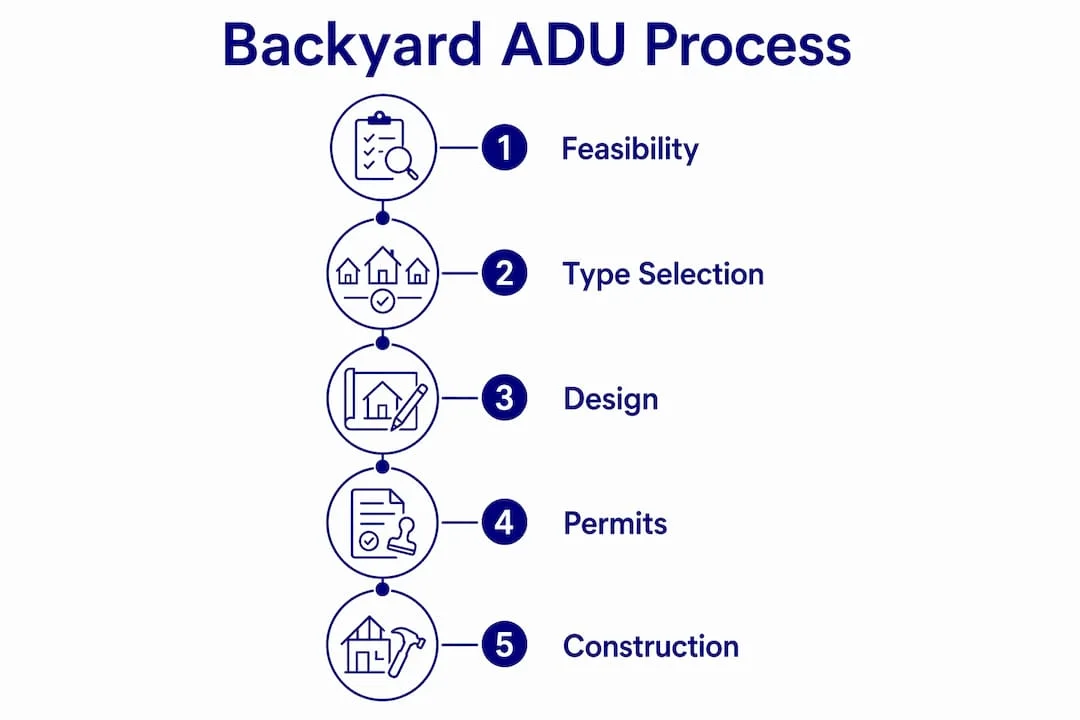
The backyard ADU design process is a sequence, not a single decision. Each step depends on the one before it. Identifying the most restrictive zoning rules first helps refine the plan efficiently and prevents wasted architectural fees. Skipping ahead to floor plans before confirming what your lot can legally support is the single most common and expensive mistake California homeowners make.
The process moves through five stages: zoning and site feasibility, ADU type selection, detailed design, permit preparation, and construction. Each stage produces a concrete output that feeds the next. The result is a project that moves forward without backtracking.

How do you verify zoning and site feasibility first?
Zoning is the first filter in any ADU project. It covers lot coverage limits, floor area ratio, setbacks from property lines, parking requirements, utility connection rules, and short-term rental restrictions. Your local municipality sets these rules, and the California Department of Housing and Community Development publishes updated technical guidance reflecting current state law. Checking both sources before any design work begins protects your budget.
Site constraints add another layer on top of zoning. Easements, slope, drainage patterns, utility line locations, fire separation distances, and protected trees all affect where a structure can sit. A site diagram that maps these factors reveals the true buildable area on your lot. Site constraints can force a shift from a detached backyard cottage to a garage conversion before a single architectural drawing is produced.
Pro Tip: Sketch your lot to scale and mark every known constraint before your first meeting with a designer. This single step can cut your feasibility review time in half.
The table below lists the most common factors to check during a feasibility review.
| Factor | What to verify |
|---|---|
| Lot coverage | Maximum percentage of lot area that can be covered by structures |
| Setbacks | Minimum distance from property lines, fences, and the main house |
| Floor area ratio | Total allowed building area relative to lot size |
| Easements | Utility, drainage, or access easements that restrict building |
| Slope and drainage | Grade changes that affect foundation type and cost |
| Utility connections | Location of sewer, water, and electrical tie-in points |
| Tree preservation | Protected trees that limit placement or require permits |
Which ADU type fits your property and goals?
Choosing the right ADU type depends on your lot constraints, budget, and what you want the unit to do. Each type carries different cost profiles, privacy levels, and regulatory requirements.
- Detached ADU. A freestanding structure in the backyard. Detached units offer the most privacy and the greatest resale flexibility, but they cost more per square foot because they require a new foundation and independent utility connections. Best for homeowners prioritizing rental income or long-term property value.
- Attached ADU. An addition connected to the primary home. Shares a wall but functions as a separate unit. Lower foundation cost than detached, but design must address acoustic separation carefully.
- Garage conversion. Reuses an existing structure. Garage conversions tend to be the most economical because the foundation and shell already exist. The trade-off is a fixed footprint and potential loss of parking, which some municipalities require you to replace.
- Junior ADU (JADU). Created within the existing walls of the primary home, typically from a bedroom or attached garage. California law caps JADUs at 500 square feet. They carry the lowest construction cost but offer the least privacy and the most limited rental appeal.
Your project goal shapes the decision. Rental income favors a detached unit or garage conversion for privacy and separate entry. Multigenerational family use often works well with an attached addition. Resale value benefits most from a detached unit that future buyers can use independently. Check the ADU types available for Los Angeles properties to see how each option maps to common lot configurations.
What design factors maximize livability and compliance?
The design phase translates your feasibility findings and ADU type choice into a buildable plan. Getting this phase right means thinking about daily life inside the unit, not just square footage.
Orientation and natural light
Orient the unit to capture morning or afternoon light based on the lot’s position. South-facing windows maximize passive solar gain in California’s climate. Privacy from the main house matters too. Position windows and entries so occupants of the ADU and the primary home are not looking directly at each other. Orientation for natural light and privacy directly affects rental appeal and long-term property value.
California’s 2025 Title 24 energy standards
California’s 2025 Title 24 energy standards must be built into the design from the start, not added after plan check. Title 24 governs insulation levels, window performance, mechanical systems, and lighting efficiency. Failing to account for these requirements early leads to expensive last-minute revisions that delay permit approval. Your designer should produce an energy compliance report as part of the permit package, not as an afterthought.
Space efficiency in small footprints
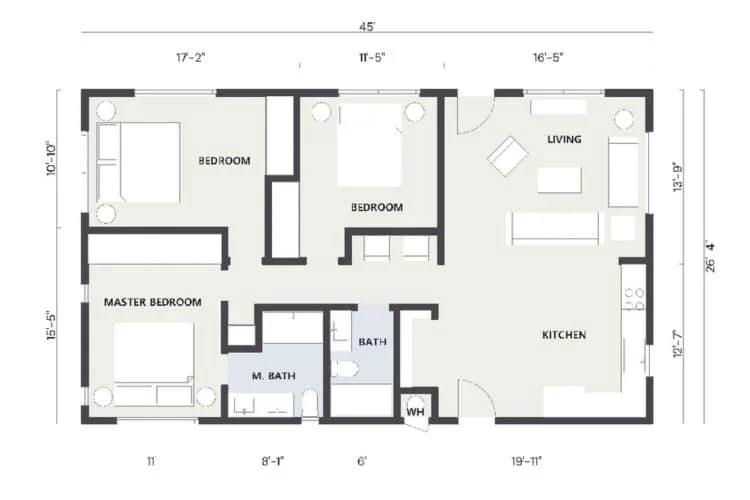
Small ADUs demand that every square foot serve more than one purpose. Aligning entries with living zones removes wasted hallway space and increases usable area without increasing the building footprint. Murphy beds, built-in storage, and open kitchen-living layouts are standard tools for studio and one-bedroom ADU layouts. A studio ADU layout that uses these techniques can feel significantly larger than its square footage suggests.
Acoustic separation
Acoustic separation is non-negotiable for rental units and multigenerational households. Sound travels through shared walls, floors, and mechanical systems. Specify resilient channel assemblies, batt insulation in all partition walls, and solid-core doors. These details cost little to add during design but are expensive to retrofit after construction.
Pro Tip: Ask your designer to mark acoustic-sensitive walls on the floor plan before framing begins. Catching this in design costs nothing. Fixing it after drywall costs thousands.
Accessibility features are worth considering even if not currently required. Wider doorways, a no-step entry, and a curbless shower add minimal cost during construction and significantly expand the pool of future tenants or family members who can use the space comfortably.
How do you budget and prepare permits for your ADU build?
Budgeting for a backyard ADU requires separating hard costs from soft costs. Hard costs cover site work, foundation, framing, mechanical systems, and finishes. Soft costs cover design fees, engineering, permit fees, and utility connection charges. Site access, foundation type, and the distance from existing utility tie-in points are the three factors that most often push budgets above initial estimates. Build a contingency of at least 10–15% into your total budget before you commit to a design.
Permit preparation follows a clear sequence in California municipalities.
- Site plan. A scaled drawing of the lot showing the existing primary structure, proposed ADU footprint, setbacks, and utility locations.
- Architectural drawings. Floor plans, elevations, and sections stamped by a licensed designer or architect. These must reflect all zoning requirements confirmed in the feasibility stage.
- Structural engineering drawings. Required for new foundations and any structural modifications. Structural design requirements in California include seismic considerations that affect foundation depth and framing connections.
- Energy compliance report. A Title 24 calculation report demonstrating that the design meets California’s energy standards.
- Plan check submission. Submit the full package to your local building department. Plan submission and review timelines vary by municipality but represent a critical milestone in the build process.
Common causes of permit delays include incomplete drawing sets, missing energy reports, and setback errors that were not caught in feasibility. Reviewing the ADU timeline for 2026 gives you a realistic picture of how long each approval step takes in California.
Key Takeaways
A successful backyard ADU project starts with zoning feasibility, builds through site analysis and type selection, and locks in livability and energy compliance during design before a single permit is filed.
| Point | Details |
|---|---|
| Start with zoning | Confirm lot coverage, setbacks, and floor area ratio before drawing floor plans. |
| Map site constraints | A site diagram revealing easements, slope, and utilities prevents costly ADU type changes later. |
| Match type to goals | Detached units maximize privacy and resale value; garage conversions offer the lowest entry cost. |
| Embed Title 24 early | California’s 2025 energy standards must be in the design from day one to avoid plan check revisions. |
| Budget for soft costs | Design fees, engineering, and permit charges routinely add 10–20% on top of construction costs. |
What I’ve learned from watching homeowners skip the feasibility step
The most consistent pattern I see in ADU projects that go sideways is this: the homeowner fell in love with a floor plan before anyone checked whether the lot could support it. They spend money on architectural drawings, sometimes thousands of dollars, only to find out a drainage easement or a setback rule eliminates the buildable area they assumed was available. The floor plan gets scrapped. The process starts over.
Starting with a site diagram is not glamorous. It does not feel like progress the way a floor plan does. But it is the single step that separates projects that move forward cleanly from projects that stall and cost more than they should.
The second thing I see consistently underestimated is acoustic design in rental units. Homeowners focus on kitchen finishes and bathroom tile. They approve the framing plan without specifying resilient channel or dense-pack insulation in the party wall. Six months after the tenant moves in, there are complaints. Retrofitting acoustic assemblies after drywall is expensive and disruptive. Specifying them during design costs almost nothing.
The design phase is where you make decisions that are cheap to change on paper and expensive to change in the field. Use that window. Spend time on orientation, acoustic separation, and energy compliance before you submit for permits. The projects that come out well are the ones where the homeowner treated design as problem-solving, not just aesthetics.
, Uni Construction
Uni Construction’s approach to backyard ADU design in California
Uni Construction works with California homeowners from the first feasibility check through permit approval and construction. The team handles site analysis, custom architectural design in Los Angeles, permit-ready drawings, structural engineering, and Title 24 energy compliance reports as a coordinated package.
Every project starts with a property review to confirm what your lot can legally support before any design work begins. That approach prevents the redesign cycles that inflate budgets and delay timelines. If you are planning a backyard ADU in Southern California, contact Uni Construction to schedule a consultation and get a clear picture of what your property can support.
FAQ
An ADU (accessory dwelling unit) is a self-contained residential unit built on the same lot as a primary home. California law allows detached cottages, attached additions, garage conversions, and junior ADUs up to 500 square feet.
The full process from feasibility through permit approval typically takes several months in California, depending on municipality review timelines and the completeness of the submitted drawing package.
A complete permit package includes a site plan, stamped architectural drawings, structural engineering drawings, and a California Title 24 energy compliance report.
Failing to start with zoning leads to floor plans that cannot be built, wasting design fees and delaying the project. Confirming setbacks, lot coverage, and easements first shapes a design that can actually be permitted.
A well-designed ADU adds rentable square footage and increases the income potential of the property. Detached units with private entries tend to offer the greatest value impact at resale.