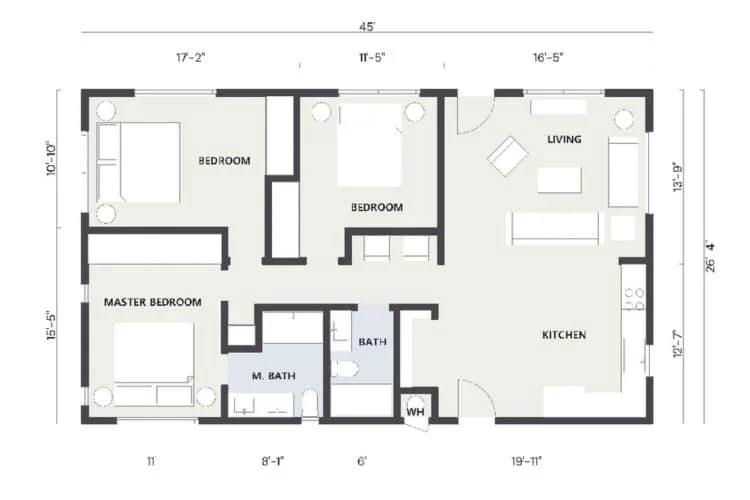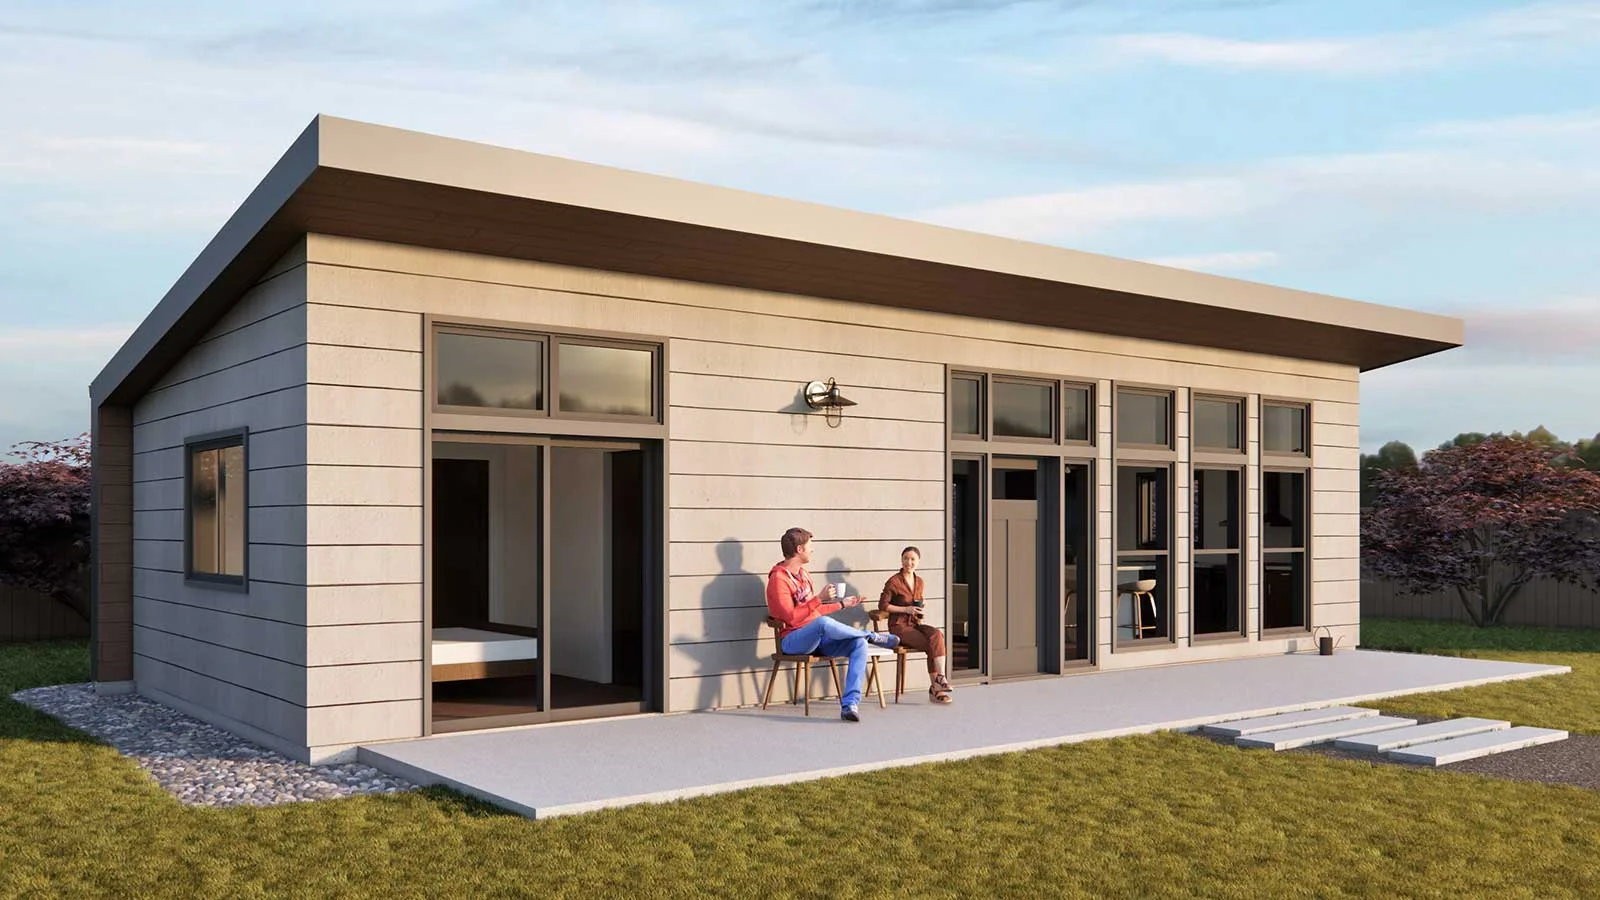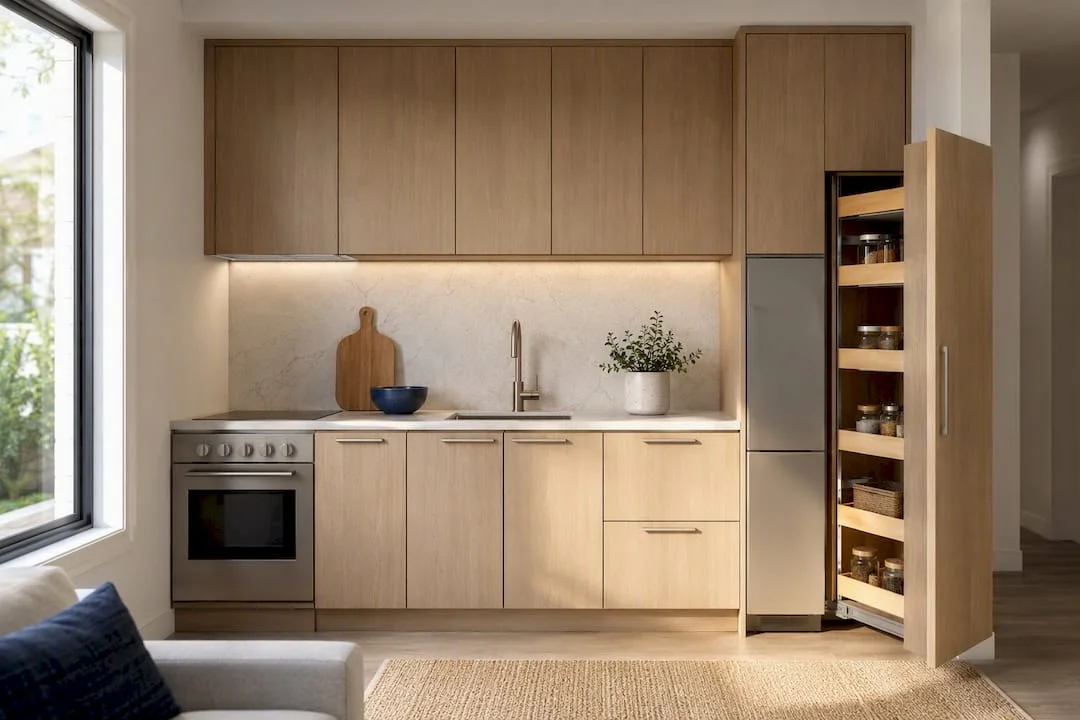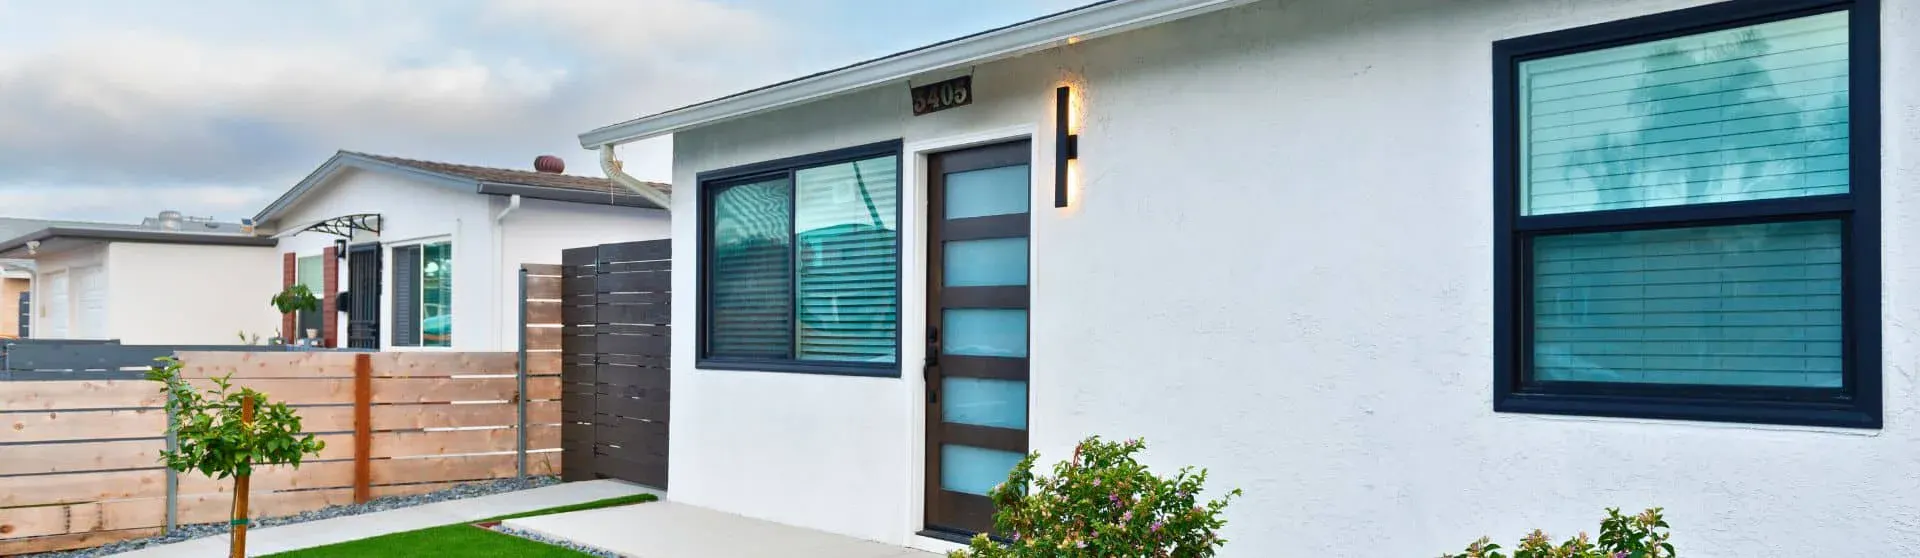


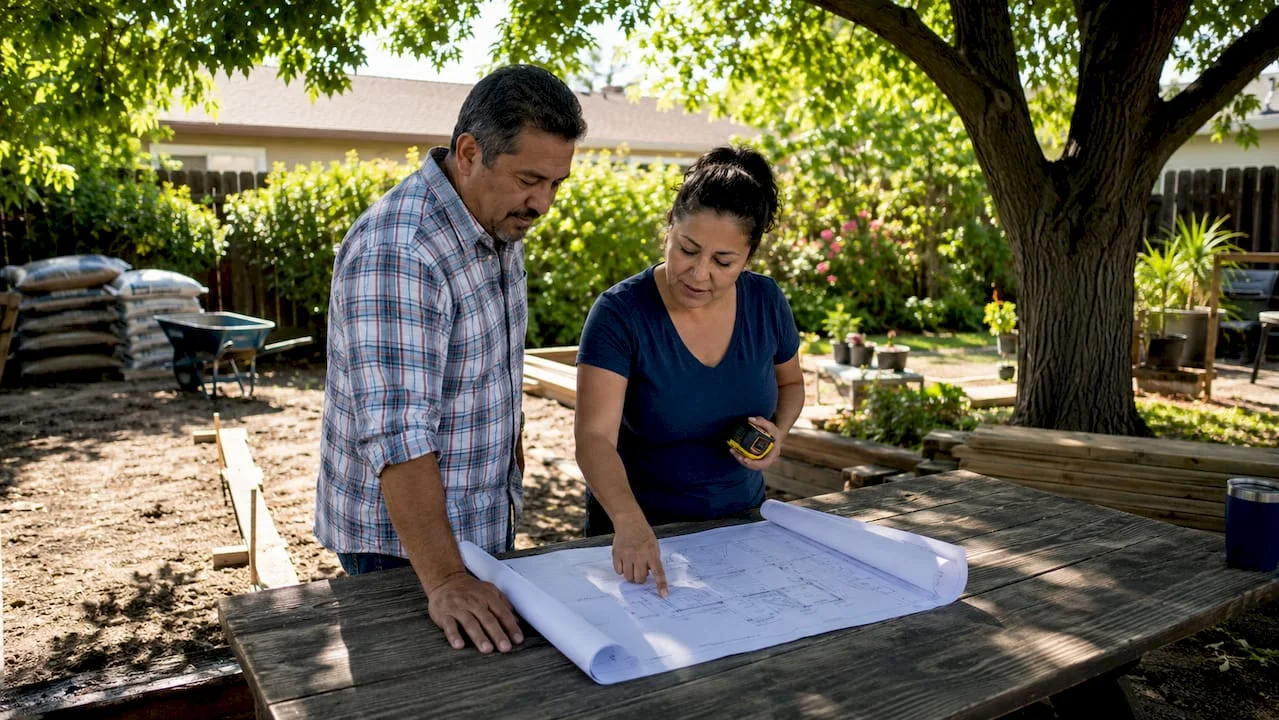
An attached ADU is a secondary dwelling unit connected to your primary residence by a shared wall, floor, or ceiling, and building one correctly in California requires navigating a specific sequence of permits, design rules, and construction phases. The HCD ADU Handbook is the official state document that governs how local agencies apply California ADU law, and the March 2026 update introduced clarifications on height limits, livable space standards, and permit timelines that every homeowner and investor must understand before breaking ground. This attached ADU construction guide walks you through every phase, from permit preparation to final inspection, so you can build efficiently and avoid the delays that derail most projects.
What permits and approvals are required before starting attached ADU construction?
Permits are the single biggest source of project delays in California, and the root cause is almost always incomplete documentation at the time of submission. Under SB 543, your local agency has 15 business days to determine whether your application is complete. The clock stops the moment they identify a missing item, and missing documentation such as energy calculations, site plans, or utility reports can pause that clock for weeks or months.
Before you submit anything, confirm your project meets zoning compliance requirements. These include setbacks from property lines, lot coverage limits, and parking exemption eligibility. Most California jurisdictions exempt attached ADUs from added parking requirements when the property is within half a mile of public transit, but you need to verify this with your local planning department. Fire safety compliance under the California Building Code and energy efficiency standards under Title 24 are non-negotiable and must be reflected in your submitted drawings.
The 60-day permit approval clock only starts after your application is deemed complete. That distinction matters enormously. The real timeline risk in ADU permitting is the completeness determination phase, not the 60-day window itself. Projects that sail through permitting are almost always the ones where the applicant submitted a thorough, well-organized package the first time.
Here is what a complete permit package typically includes:
- Completed permit application form with property and owner information
- Site plan showing property boundaries, existing structures, and proposed ADU footprint
- Architectural floor plans and elevations drawn to scale
- Structural engineering calculations and details
- Title 24 energy compliance documentation
- Utility connection plans, including electrical load calculations
- Any required soils or geotechnical reports for your site
Pro Tip: Build your permit package using a checklist modeled on your local agency’s submittal requirements. Cross-reference it against the HCD ADU Handbook before submission to catch gaps before the reviewer does.
How to design attached ADUs that meet California regulations
California law defines an ADU as a unit with complete independent living facilities, meaning a private kitchen, bathroom, and sleeping area, under Government Code section 66313. That legal definition shapes every design decision you make. Your attached ADU must function as a fully self-contained home, not just an extra room with a sink.

Size and height limits
Attached ADUs in California can be up to 1,200 square feet or 50% of the primary dwelling’s living area, whichever is smaller. The maximum height is 25 feet, or the height limit of the primary dwelling if that limit is lower. These numbers set your design envelope before you sketch a single floor plan.
Common layout options
The three most practical layouts for attached ADUs are garage conversions, side additions, and basement conversions. Each has a distinct cost and complexity profile.
| Layout type | Pros | Cons |
|---|---|---|
| Garage conversion | Lower cost, existing structure | Loses parking, may need seismic upgrades |
| Side addition | New construction, flexible design | Higher cost, requires setback clearance |
| Basement conversion | Minimal exterior impact | Egress and waterproofing challenges |
Garage conversions are the most cost-effective starting point because the slab, framing, and roof already exist. Side additions give you the most design freedom but carry the highest per-square-foot cost. Basement conversions work well on hillside lots common in Los Angeles but require careful attention to egress window sizing and waterproofing.
Utilities and fire separation
Utility upgrades such as electrical panel expansion and separate submeters may be necessary depending on your ADU’s size and load. Evaluate your existing utility capacity before finalizing the design. Discovering mid-construction that your panel needs a full upgrade adds cost and weeks to your schedule.
Fire separation assembly between the ADU and the primary dwelling is mandatory. This means fire-resistant drywall on shared walls, fire-stopping around all penetrations, and compliant egress windows or doors. Skipping or underspecifying this detail is one of the most common reasons plan checkers reject attached ADU drawings.
Pro Tip: Design the ADU entrance on a different facade from the primary home’s main entry. This satisfies the independent entrance requirement and also makes the unit more attractive to future tenants.
What are the key construction steps for building an attached ADU?
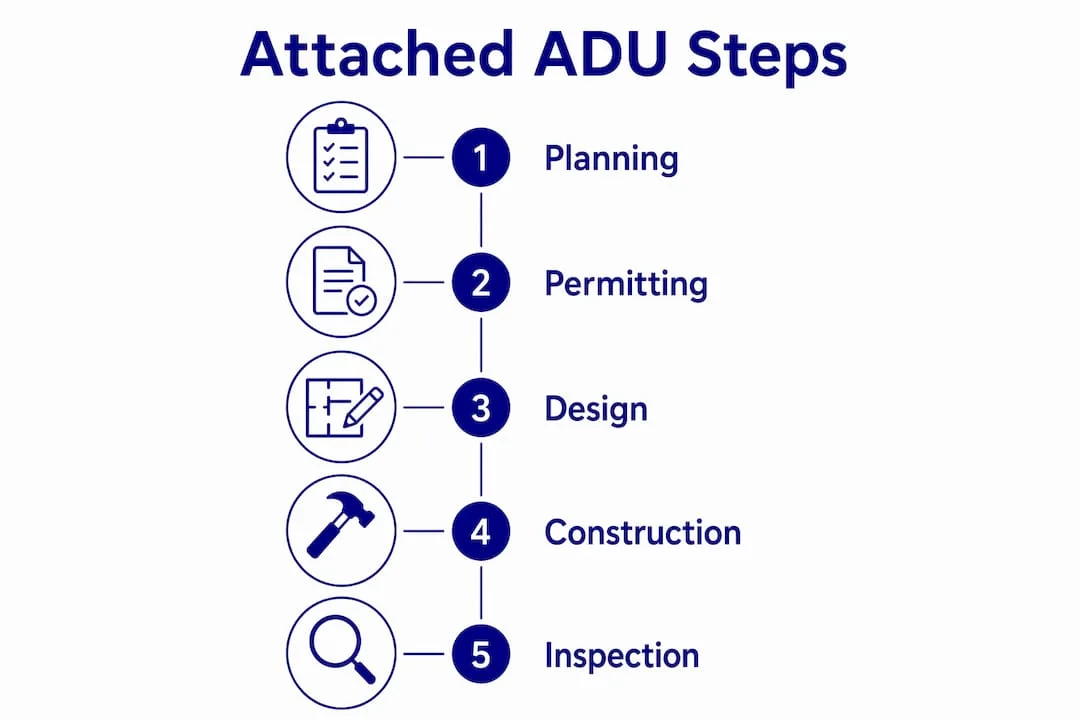
Total project time from permit submission to move-in typically ranges from 6 to 14 months depending on project complexity, correction rounds during plan check, and contractor availability. Understanding the construction sequence helps you set realistic expectations and coordinate trades efficiently.
- Site preparation. Clear the work area, establish temporary fencing, and arrange for any required demolition. For garage conversions, this means removing the garage door, slab sections if needed, and any non-structural interior elements. Document existing conditions thoroughly with photos before any work begins.
- Foundation work and framing. New additions require a continuous footing tied into the existing foundation. Your structural engineer’s drawings govern this phase entirely. Framing must meet current California Building Code requirements, including hold-down hardware and shear wall specifications that are more stringent in seismic zones across Southern California.
- Rough-in of plumbing, mechanical, and electrical systems. This phase runs concurrently across trades and must be completed before walls are closed. All rough-in work requires inspection before insulation or drywall proceeds. Coordinate your inspections in advance because scheduling delays here can stall the entire project by one to two weeks.
- Insulation and drywall. California’s Title 24 energy standards specify minimum insulation R-values for walls, ceilings, and floors. Fire-rated drywall on shared walls with the primary dwelling is installed at this stage. Do not proceed to finish work until the insulation inspection is signed off.
- Interior finishes, fixtures, and final systems. Flooring, cabinetry, plumbing fixtures, electrical devices, and HVAC equipment are installed and connected. This phase moves quickly with good subcontractor coordination but is where most schedule slippage occurs due to material lead times.
- Final inspections and certificate of occupancy. Your building department will conduct a final inspection covering structural, electrical, plumbing, mechanical, and energy compliance. Only after passing all inspections will the city issue a certificate of occupancy, which is the legal document authorizing the unit to be occupied or rented.
Pro Tip: Schedule your rough-in inspections as soon as framing is complete rather than waiting until all trades finish. Catching a single code issue at rough-in costs far less to fix than discovering it at final inspection.
What are common challenges during attached ADU construction?
Most attached ADU projects that run over budget or over schedule share the same set of avoidable problems. Recognizing them before you start is the most cost-effective thing you can do.
- Incomplete permit applications are the leading cause of multi-month delays. Missing items like energy documents, site plans, and utility calculations are the most frequent offenders.
- Unexpected site conditions such as buried utilities, poor soil bearing capacity, or undocumented prior construction can add significant cost to foundation and framing work.
- Underestimated utility capacity catches many homeowners off guard. An attached ADU with a full kitchen and HVAC system places real load on your electrical panel and water service. Assess capacity early.
- Fire code non-compliance on shared walls is a plan check rejection trigger. Shared walls between the ADU and the primary home must meet one-hour fire-resistance assembly standards.
- Starting construction without permits is the most expensive mistake possible. Unpermitted construction in California can result in stop-work orders, fines, and mandatory demolition of completed work.
Choosing a contractor with direct experience building attached ADUs in your specific city matters more than choosing the lowest bid. Local contractors know which plan checkers are strict about specific details and how to format submittals to match local agency preferences. That knowledge alone can save you two to three months on permitting.
For a detailed breakdown of what attached ADU construction costs per square foot in your area, the cost benchmarks published by Uni Construction provide current California figures that help you budget realistically before hiring anyone.
Key takeaways
A successful attached ADU build in California depends on a complete permit package, code-compliant design, and a disciplined construction sequence coordinated with inspections at every phase.
| Point | Details |
|---|---|
| Permit completeness is critical | Submit all required documents upfront to prevent the 15-day completeness clock from pausing. |
| Design to the 2026 HCD standards | Use the March 2026 HCD Handbook to confirm height, size, and fire separation requirements before finalizing plans. |
| Sequence construction by inspection | Schedule rough-in inspections immediately after framing to catch issues before walls close. |
| Assess utilities before design | Evaluate electrical panel capacity and water service early to avoid mid-construction upgrade costs. |
| Never build without permits | Unpermitted work risks stop-work orders, fines, and demolition under California law. |
What I’ve learned building attached ADUs in Los Angeles
After working on attached ADU projects across Los Angeles and nearby cities, the pattern I see most often is homeowners underestimating the permit phase and overestimating the construction phase. They budget aggressively for framing and finishes, then get blindsided by a three-month plan check correction cycle that nobody planned for.
The fix is not complicated, but it requires discipline. Treat your permit package as a construction deliverable with the same rigor you would apply to framing or electrical work. Every missing document is a delay you chose to accept. Working with an architect who has submitted attached ADU plans to your specific city’s building department is not a luxury. It is the most reliable way to compress the permitting timeline.
I also push back on the idea that attached ADUs are primarily a financial play. Yes, rental income and property value appreciation are real. But the homeowners who get the most out of these projects are the ones who design for flexibility from the start. A unit that works as a rental today can house a parent tomorrow and serve as a home office the year after that. That long-term thinking changes how you approach every design decision, from entrance placement to soundproofing between shared walls.
The 2026 ADU timeline guide from Uni Construction reflects what we actually see in the field, not optimistic projections. Use it to set expectations with your family, your contractor, and your lender before the project starts.
, Uni Construction
Build your attached ADU with Uni Construction
Uni Construction specializes in attached ADU design and construction across Los Angeles, handling everything from permit-ready architectural drawings and structural engineering to full project management through certificate of occupancy. Every project starts with a design that is calibrated to your specific lot, your local agency’s requirements, and the 2026 HCD standards so your permit package is complete the first time you submit it.
If you are ready to move from planning to building, Uni Construction’s team brings direct experience with Los Angeles-area plan checkers, local zoning nuances, and the construction sequencing that keeps projects on schedule. Explore your options and get a project assessment tailored to your property at uni-cm.com/losangeles.
FAQ
An attached ADU is a secondary dwelling unit that shares at least one wall, floor, or ceiling with the primary residence and contains independent living facilities including a kitchen, bathroom, and sleeping area, as defined under California Government Code section 66313.
Total project time from permit submission to completion typically ranges from 6 to 14 months. Plan check alone takes 2 to 4 months with correction rounds, and construction adds another 4 to 8 months depending on complexity and contractor availability.
Attached ADUs can be up to 1,200 square feet or 50% of the primary dwelling’s living area, whichever is smaller. The maximum height is 25 feet or the height of the primary dwelling if that limit is lower.
A complete permit package includes a site plan, architectural drawings, structural engineering calculations, Title 24 energy compliance documents, electrical load calculations, and utility connection plans. Missing any of these items pauses the 15-business-day completeness determination clock.
No. Starting construction without a permit in California can result in stop-work orders, financial fines, and mandatory demolition of completed work. All ADU construction requires approved permits before any work begins.